Set up MEYELens in easy steps.
Using MEYELens is easy. Follow these steps to build your complete 3D-printed platform for pupillometry and eye tracking.
Overview
MEYELens combines a modular 3D-printed eyewear with cost-effective cameras and an open workflow for acquisition and analysis. The setup follows three main steps: first, 3D print the headset components; second, assemble the hardware; and finally, set up and run the Python-based software pipeline.
Print the headset components using the provided 3D model files. The frame can be produced as a complete print or as individual parts, depending on the workflow you prefer and the level of post-processing you want.
The print has been tested and optimized for the Bambu Lab X1 Carbon 3D printer, but the models are compatible with other 3D printers and can be produced using standard printing settings.
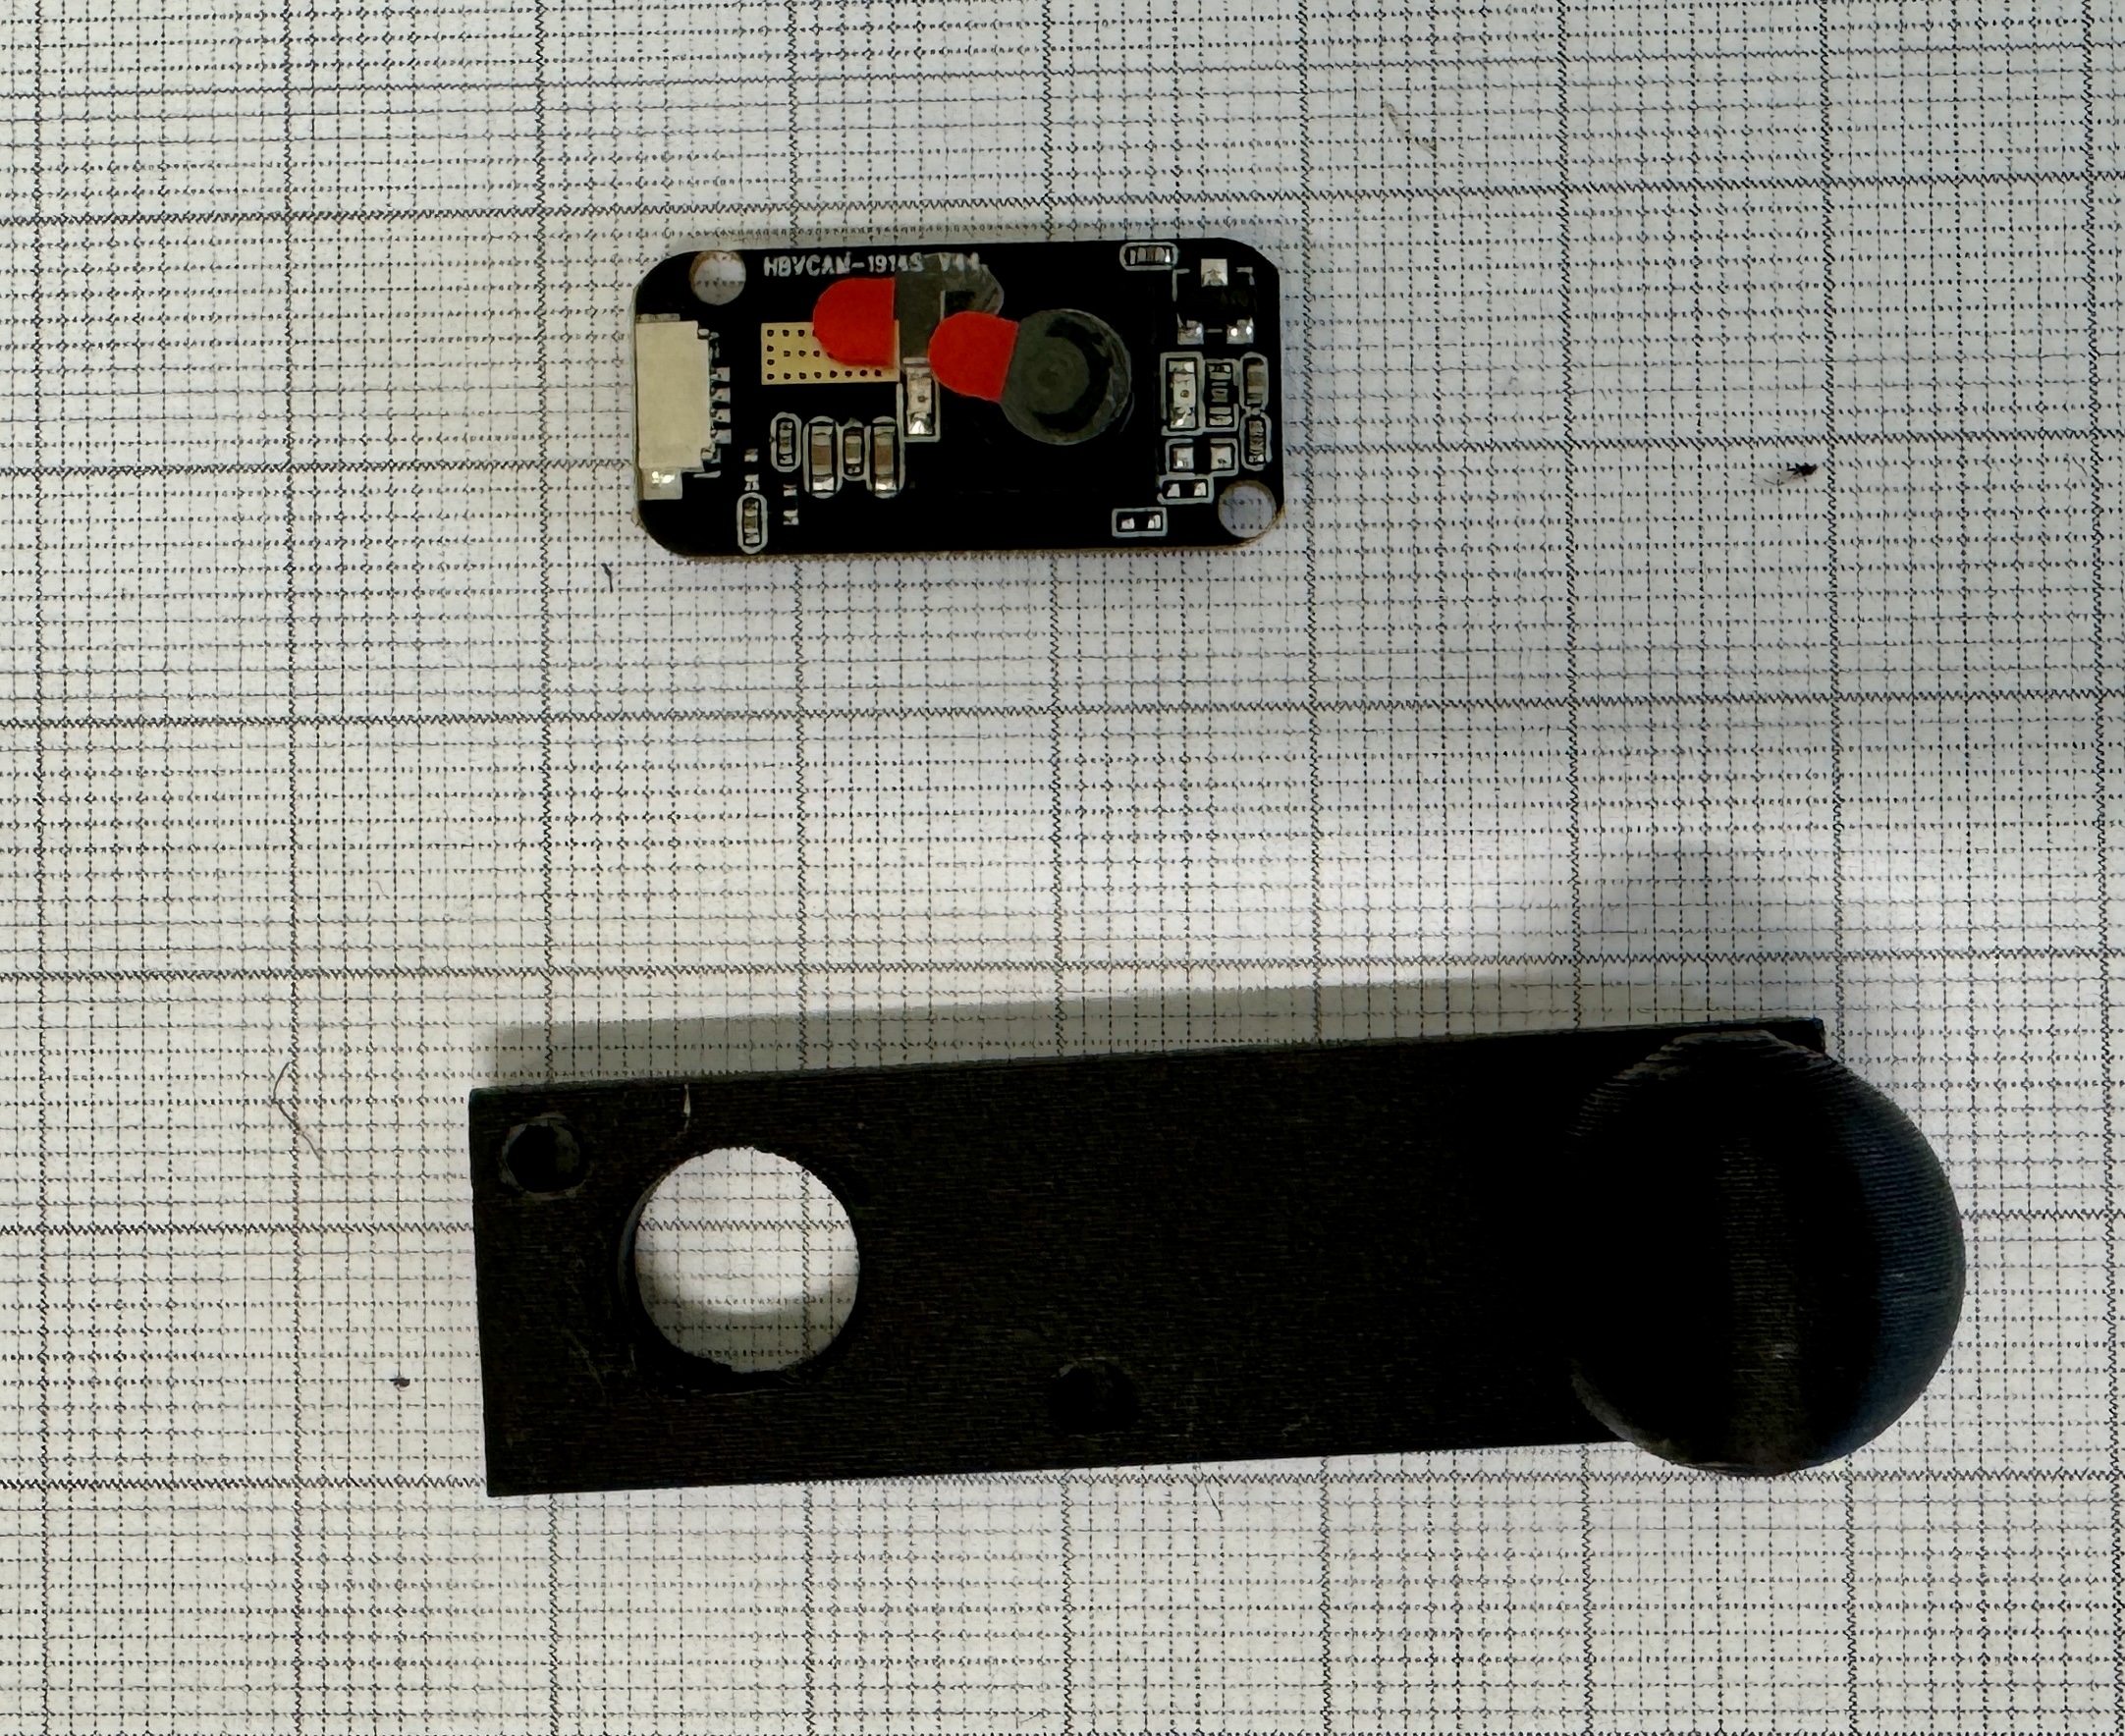
Print the parts
Print the frame components using the recommended settings for your 3D printer.
The complete set of 3D models and print files is available in the 3D models page, including a 3MF file containing the full print plate with all components and an optimized print profile for the eyewear platform.
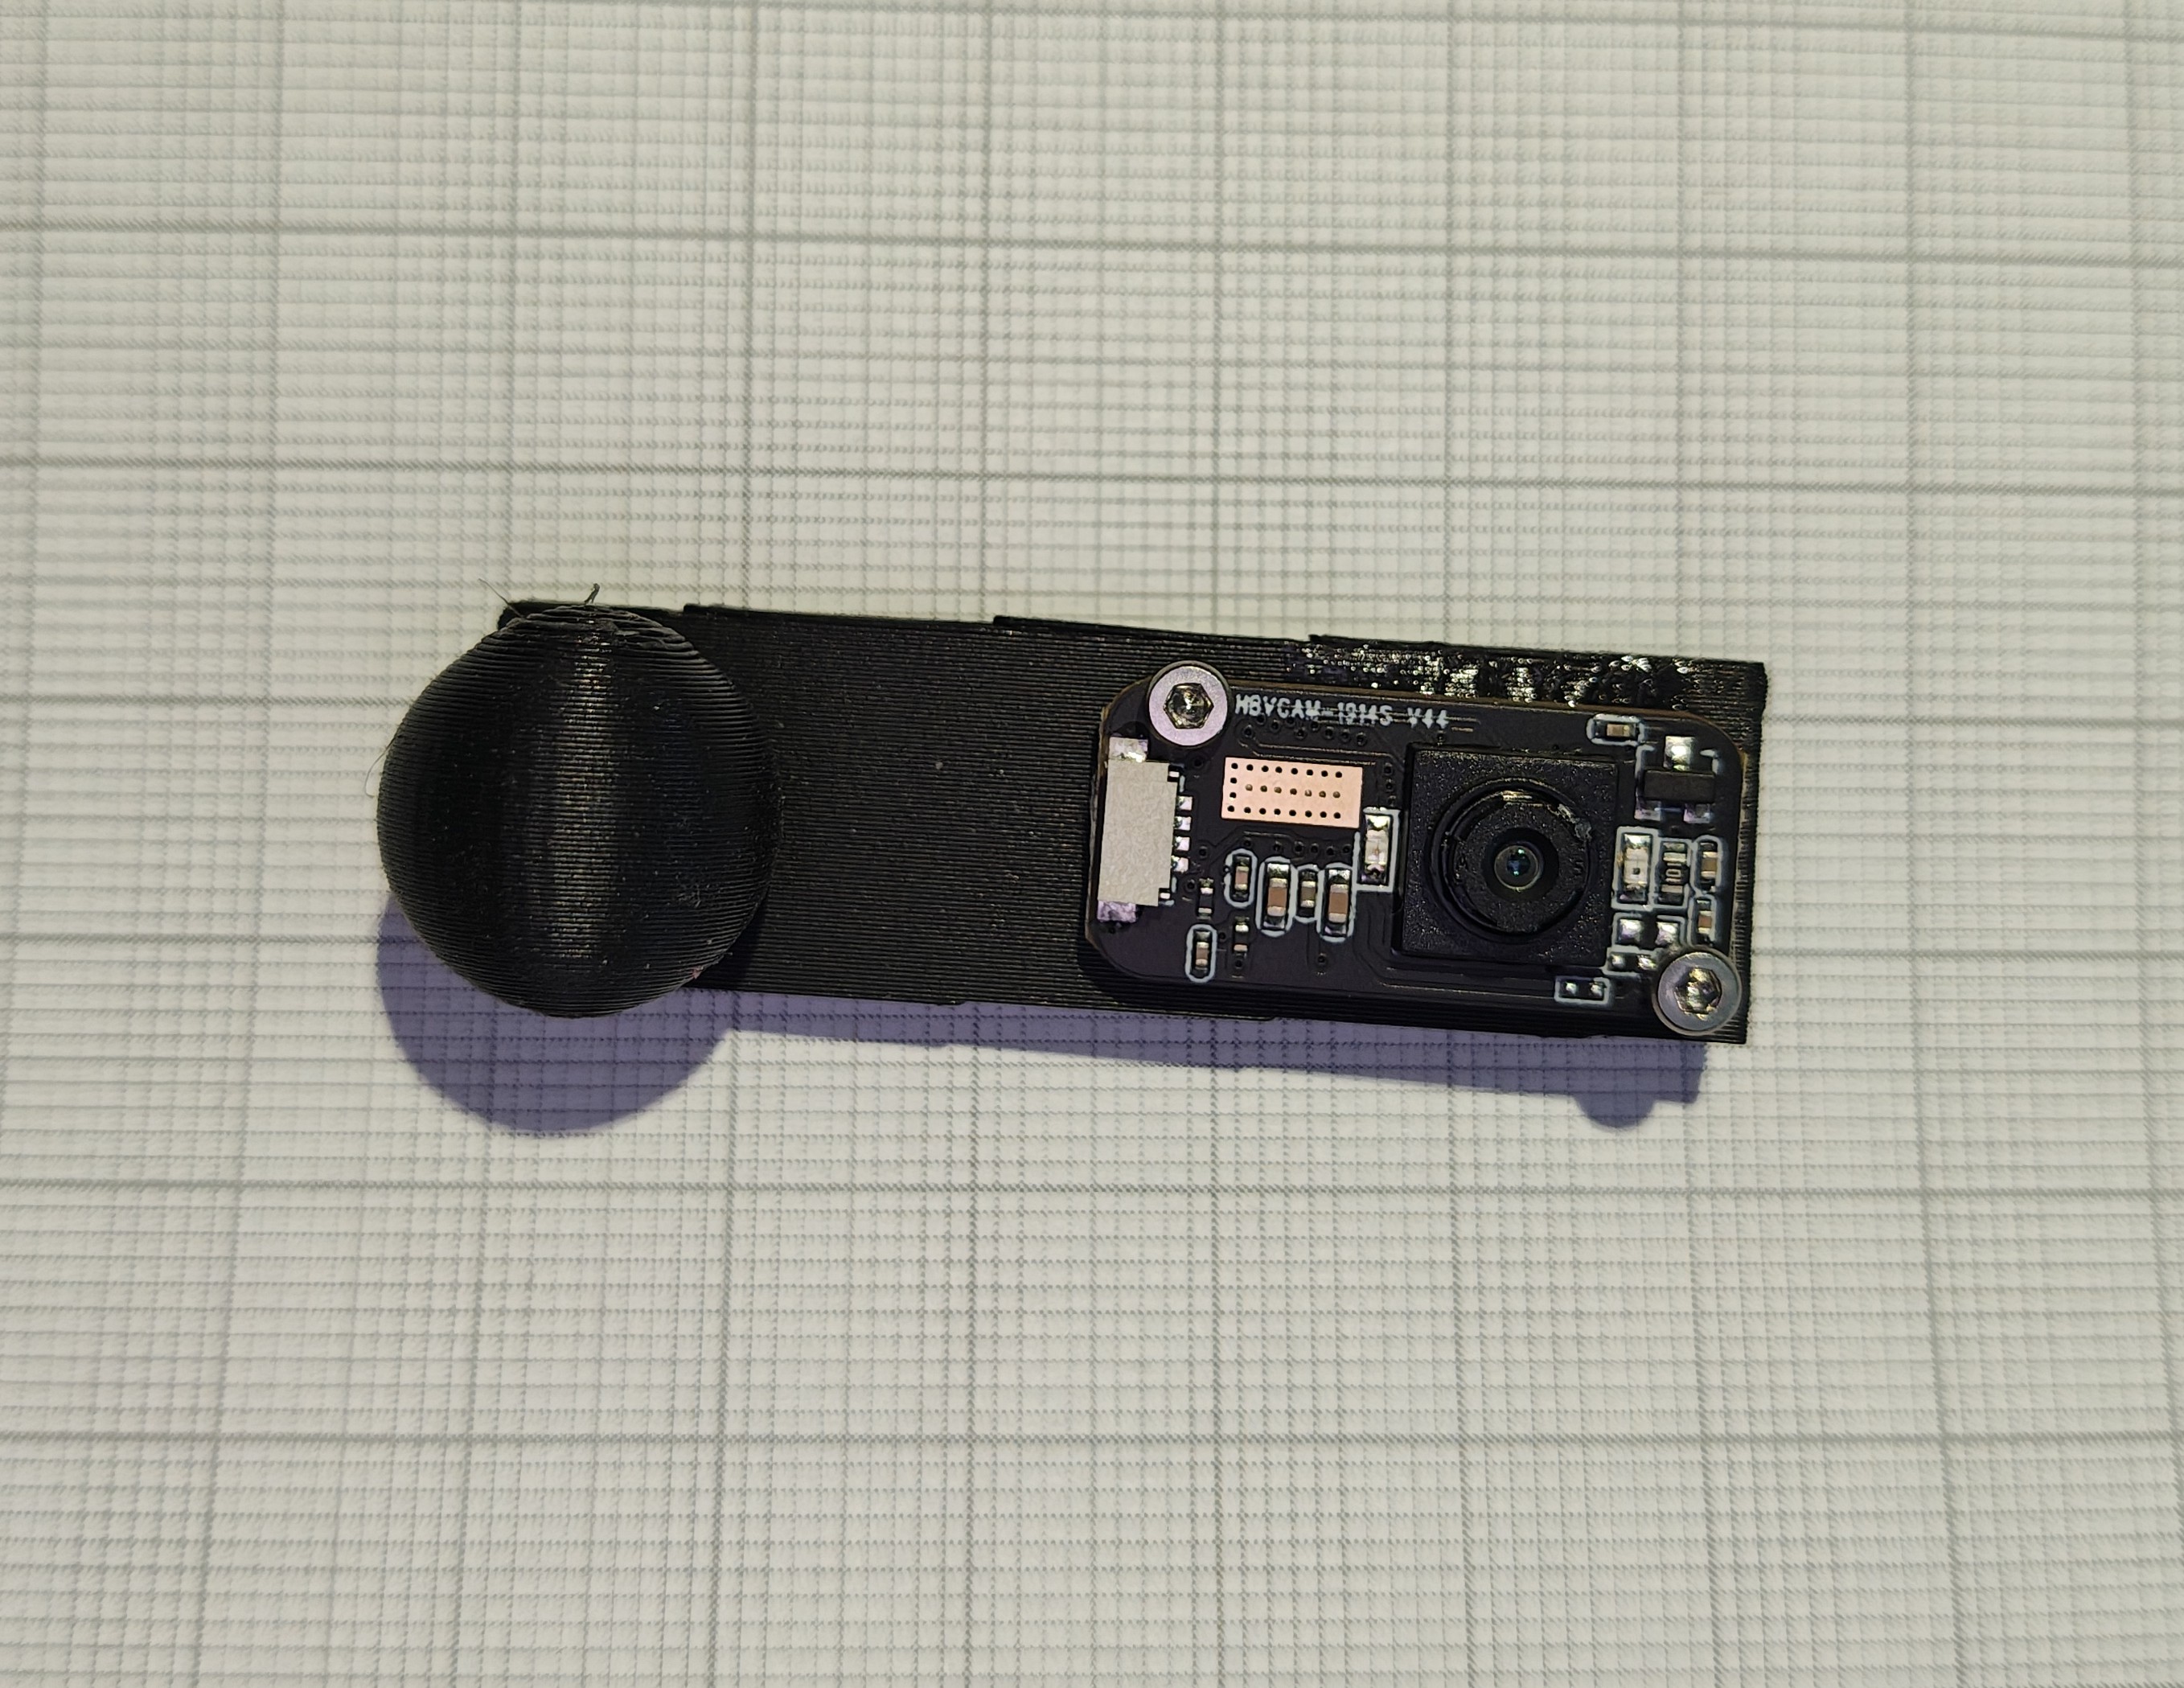
Assemble the headset
Assemble all the components and secure the fasteners.
Mount the camera(s)
After assembling the frame, mount the camera module(s) and secure them using the appropriate screws.
Install the software
Set up the Python environment and install the required package.
pip install meyelens[pt]This command installs the MEYELens Python package (including PyTorch), providing access to the full acquisition and analysis pipeline.
Run your first test
                                        from meyelens import meye, camera

                                        cam = camera.Camera(camera_index=0)
                                        meye = meye.Meye()

                                        meye.preview(cam)
This example initializes the camera and launches a live preview using MEYELens.